Replacing ABI Porthole Glass
It was easier than I thought.
I’m the type who dives into a project and gets things done.
My problem is I think about the project for a very long time before I start, and because of that, my projects take a long time – to start!
This was the case with replacing the glass in the bronze ABI porthole windows on Avemar.
I searched the web for how-to articles and videos and found a lot of information, but none of the hundreds of results were “my” kind of ABI porthole windows.
I procrastinated.
Finally, I decided it wouldn’t get done unless I just busted out a piece of glass, and then I’d be forced to figure it out on the fly.
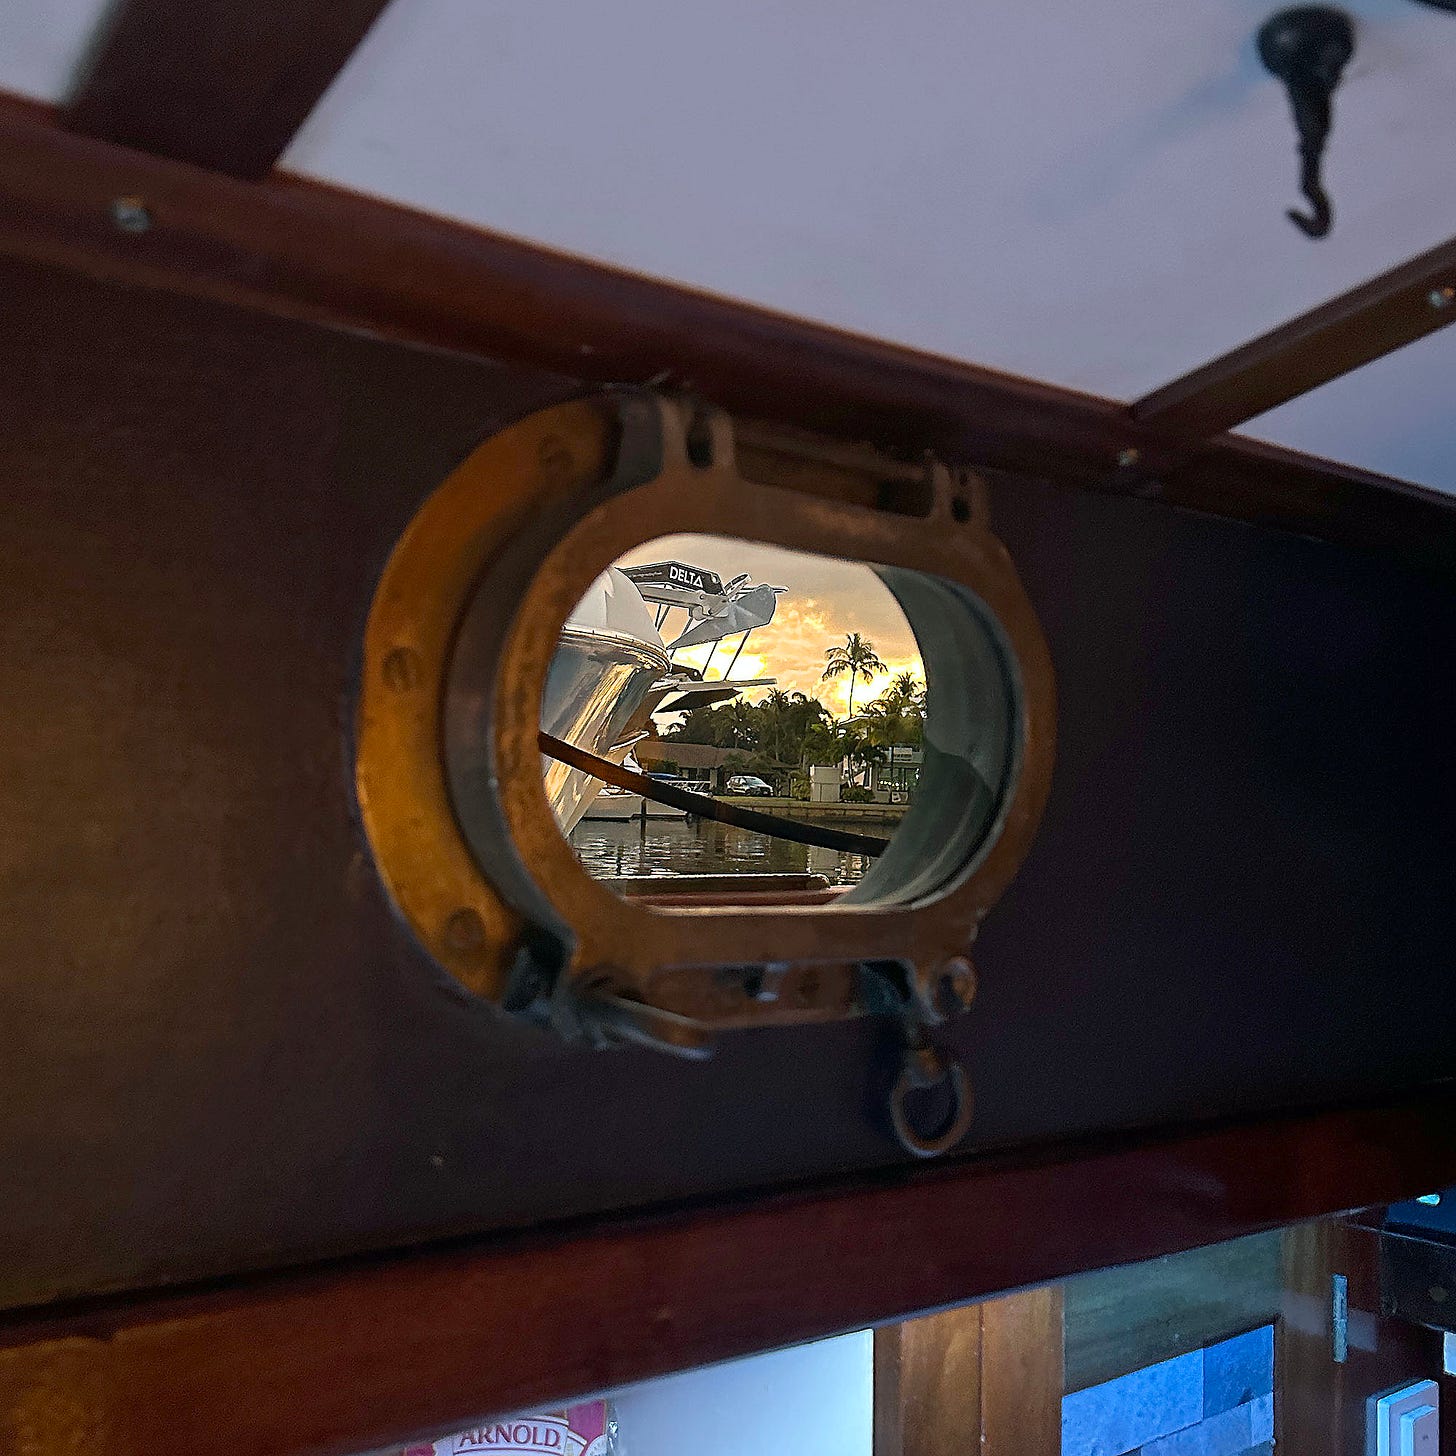
Avemar’s portholes were installed in the mid-1980s, and the existing windows were double-paned glass. The seals had broken on all six of the 9” portholes and four 5.5” portholes. The glass condition wasn’t creating any leaks, but I couldn’t see through any window!
When properly (i.e., very carefully) closed, the portholes didn’t leak, but when a storm pops up out of nowhere, and you have to close up deck hatches and ten portholes in 45 seconds, one of them would surely drip.
Many of the videos I watched and articles I read used a sealing gasket that surrounded the outside of the frame for the glass and was the material that pushed against the frame mounted in the hull to create the seal. Most articles discussed using glue or epoxy to seal the gasket at the ends into a loop.
This might have been the main reason I procrastinated on starting this project because my seals didn’t look like neoprene or anything that had been pushed into the frame. Instead, it appeared to have been poured into the gap and then let to cure.
I found one website in Canada that explained the process, which seemed very involved, and they had a service to service these windows for the grand fee of $465 per porthole, plus shipping and a four-week turnaround, with me paying for shipping on both ends!
I didn’t want to have the windows out of my boat for that long, and there was no way I was paying over $5000 to replace the glass in my windows!
So… one day, as I was considering starting the project, a pane of glass fell out of one of the portholes as I stood nearby.
The project was on.
In the end, it was a moderate amount of labor to clean the windows before replacing the glass, but in the end, the job was pretty simple, and the results were fantastic.
Before you read the steps below, I'd like you to know that I used cast acrylic sheets and black 3M 4200 FC for my sealing gasket. I DID NOT use tape or mask off my acrylic.
Once the sealant was dry, after nine days, it was effortless and almost fun to clean the excess adhesive that seeped out onto the glass and ran onto the bronze frames.
Don’t panic if you think you are making a mess using these two products in your job. (See #14 below.)
Finally, When you are finished, DON’T USE WINDEX OR VINEGAR-BASED PRODUCTS to clean the acrylic!
If you use cast acrylic for your replacement windows, only clean your windows with soap and water.
I accidentally hit one of the new panes of glass with a rubber mallet when I was installing the rod that holds them into the frame on the boat, and I missed once and scratched a new pane.
I used Purple Polish from California Customs, and with a drop and a lot of elbow grease, the scratch came right out. I also used the same polish to fix the one window where I used Windex before I knew that was not a good plan.
Before you begin, match the inside and outside frames to ensure they all fit each other because you don’t want to get to the last one and realize that one of the others was mismatched!
I had two different-sized portholes on Avemar, but on the smaller portholes, two different models were used on the boat, even though they looked identical outside the boat. The inside retaining ring only fit in the frames they were designed for. I didn’t notice this until I was doing my test fit before starting to get messy with the sealant!
Here are the steps I used.
Remove the pins that hold the long brass rod that connects the inside frame to the outside edge of the hull.
Tape plastic to the hull over the outside windows so that nothing comes into the boat when it rains. Don’t use the green ‘frog’ tape on the old oxidized gel coat. Spend the extra cash and use good blue painter’s tape.
To remove the old glass, put the inside frame facedown on a towel, use a wide, sharp, and thin putty knife, and slide it between the glass and the bronze frame. On all 10 of my windows, I found at least one spot where I could slide the putty knife between the glass, under the edge, and the sealant. The inside frame and the old sealant ring came out in one piece on all but one window. I chipped the edge of one piece of glass in 10 of the windows and cracked one on another, but since it was double-paned glass, it didn’t shatter or make a mess.
Next, clean up one of the pieces of glass for each size of your portholes and make a template. You can order rectangles of your new glass online and then use the templates to cut them into the correct shape for your frames. I used TAP Plastics and had cast acrylic cut into rectangles and then paid a friend to route the acrylic to the exact size of my templates. If I were to do this again, I’d use polycarbonate instead of acrylic and get tinted sheets instead of transparent. TAP Plastics has many options for windows and a tool on their site to get you exactly what you need. They can even take your templates and cut your glass to the required size.
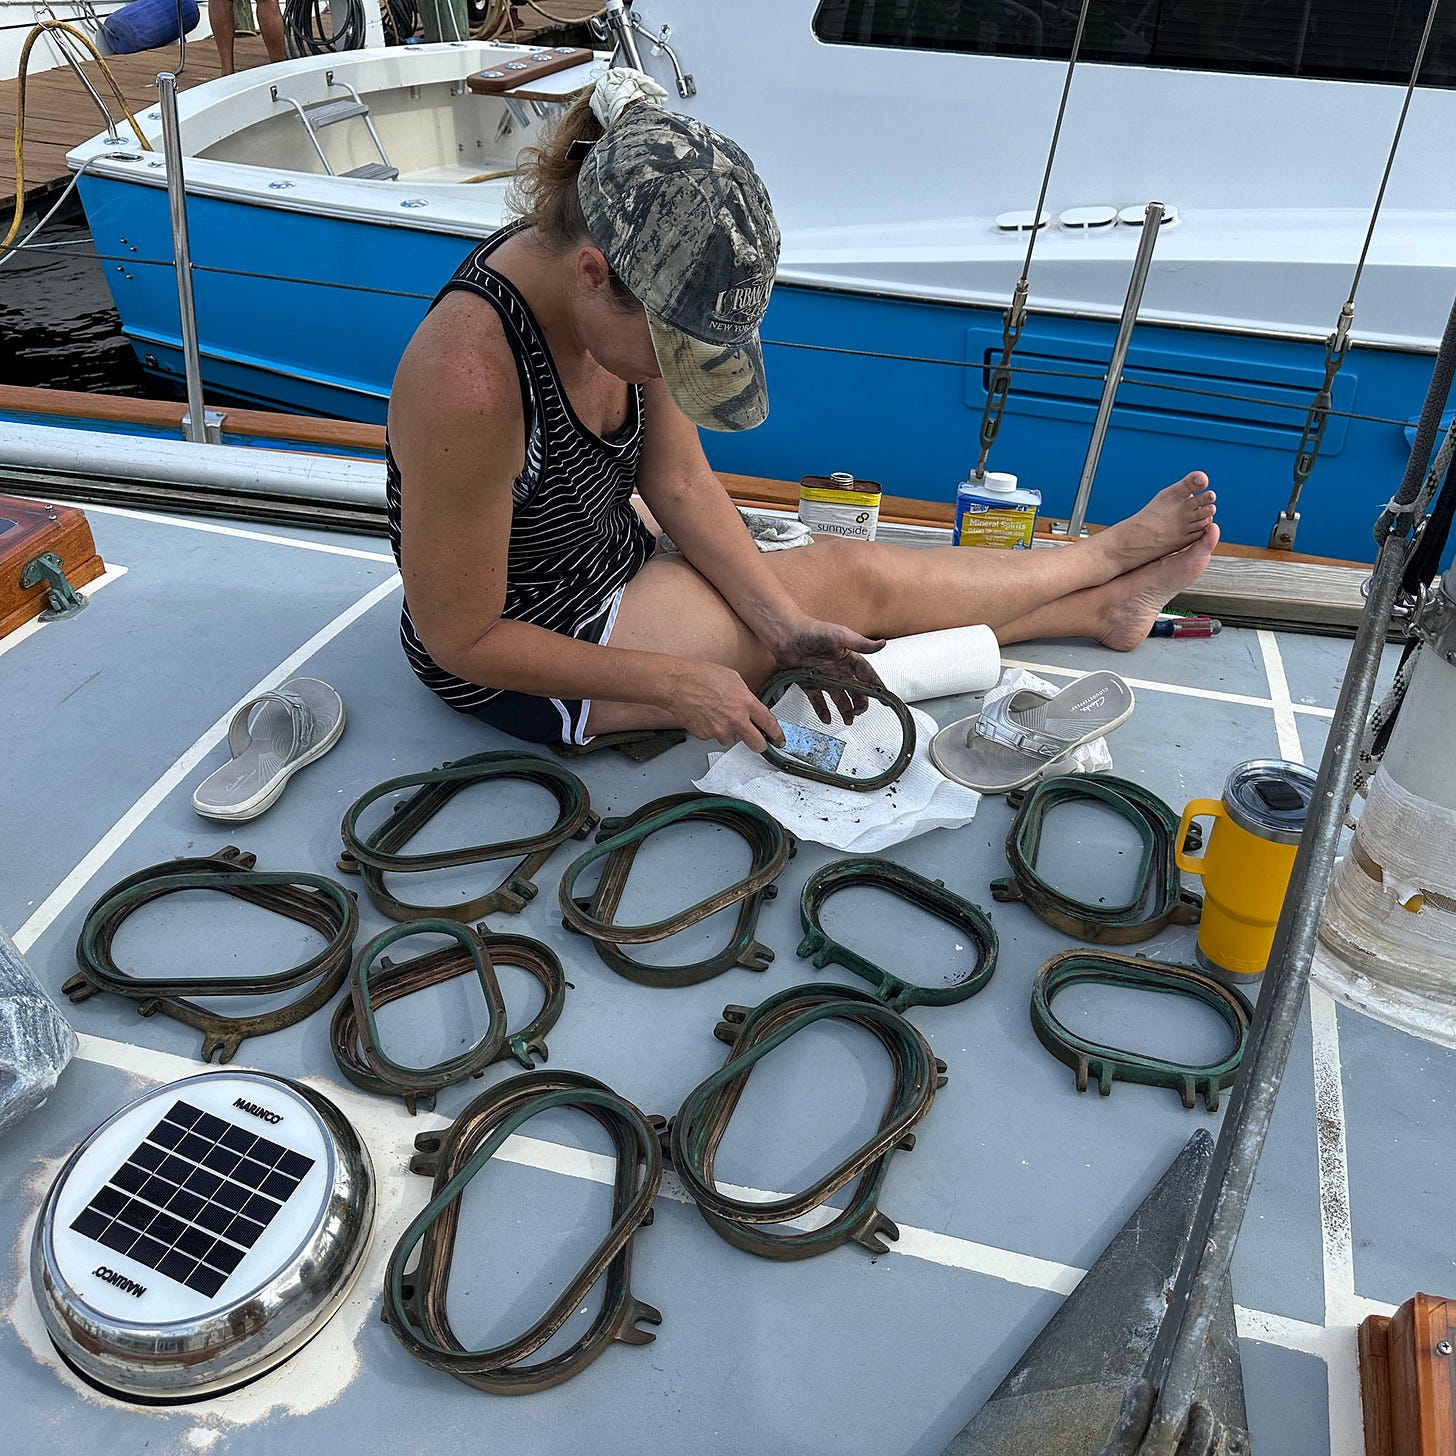
Next, clean the inside of the brass frame to remove the old sealant. There will be a large mainframe and then an inside ring that holds the glass and adhesive into place. Cleaning these two parts was the most challenging part of the job. I wasn’t trying to get the bronze to a mirror finish, so I focused on cleaning off the old sealant.
Multiple sealants should work as long as they harden but keep the feel of rubber when they cure. I chose to use 3M’s 4200 Fast Cure in black because I had just used it to seal teak hatches, and the cured product seemed to have a surface that matched what I saw on my windows before this whole project. I tested with the one window (the one that decided to fall apart) and was very happy with the results. A GE product used to glaze glass on skyscraper windows is highly rated and recommended to me, but I couldn’t find it in black at the time. I used four tubes, plus a one-inch long bead from a fifth, to complete the job on Avemar’s ten portholes.
Once your frames are clean, and your glass, acrylic, or polycarbonate is cut to size, get prepped to install. You’ll need a putty knife, rags, and a solvent to clean up your tools and any accidents if you overdo it with the 4200. Here’s a video of the process:
Lay the larger inside frame on a flat surface with the part you’ll see on the inside of the boat facing down. Put a small bead of 4200 around the lip where you place the glass inside the window.
Peel off the protective material on your acrylic, place it into the indentation on the frame, and do your best to center it so the gap is as close as possible around the glass. This will not be exact because, with the 4200 below the glass, you probably won’t be able to see exactly how to center the glass. Still, perfection isn’t necessary because you’re about to cover the whole edge with 4200, and it won’t leak because it will be sealed from the “back” side.
Set the smaller inside bronze frame on top of the glass. This will smush the 4200 into the cracks, and you’ll see it creep out onto the glass. Don’t worry! In my case, the structure was a pretty snug fit, so there wasn’t much room to adjust anyway.
Now fill the whole gap thoroughly with 4200, and make sure you fill it above the “rim” on the frame. When it is complete, mainly if you use the fast cure sealant, quickly use the putty knife to trowel out the top and level the 4200 with the edges of the outer and inner frame. This will be the seal, so you want to try to get that level as possible with no “craters.” Overfill if needed. You can sand it after it cures to level with the frame's edges.
Don’t worry too much about the spillover at this point. Ensure the sealant is level and keep your frames on a level surface for a few hours to fast cure.
In my experience, I had a good cure in nine days. What I mean by that is that after I installed the windows and tightened them against the outside porthole frame on the boat hull, after a day or two, I couldn’t see any indentation in the sealant on the inside edge, and the window did not leak. After six days, I tried to mount my windows and noticed the impression on my test. Nine days seemed to be the magic number.
Clean up all of the overfills on the bronze. A carpet knife and my fingernail handled the whole job. The 4200 that pressed out between the frame and onto the glass was easily cut with a sharp blade, and it came off the cast acrylic window with no residue. It was amazing that this goop was so messy when it came out of the tube but cleaned up quickly once it was dry. Lightly sand any excess 4200 that didn’t self-level and is higher than the rim of the two frames.
Install your finished frames. Tighten the windows evenly and only to the point where you feel the bottom of the seal is connecting with the outside of the boat frame. After a month or so, feel free to tighten more if needed, but as long as there is a seal, even if you don’t think you tightened the porthole screws enough, it won’t leak.


This has been a huge help in my quest to restore the portlights on my 78 Pacific Seacraft. I plan to follow most of your process, but I've noticed you didn't mention the tiny brass screws that hold the smaller brass frame against the glass.
I've already sourced replacements for mine, and I'm not really looking forward to having to redrill & tap the corroded ones that break off, so I was wondering how well they hold up without them.
"GM product used to glaze glass on skyscraper windows is highly rated and recommended to me, but I couldn’t find it in black at the time. "
Could you be a bit more specific about the product that you are referring to here? Thanks for your advice which may be useful in fixing my stainless steel ABI Port lights.